Critical Thinking & Perspective
Age 6 - 14 Years
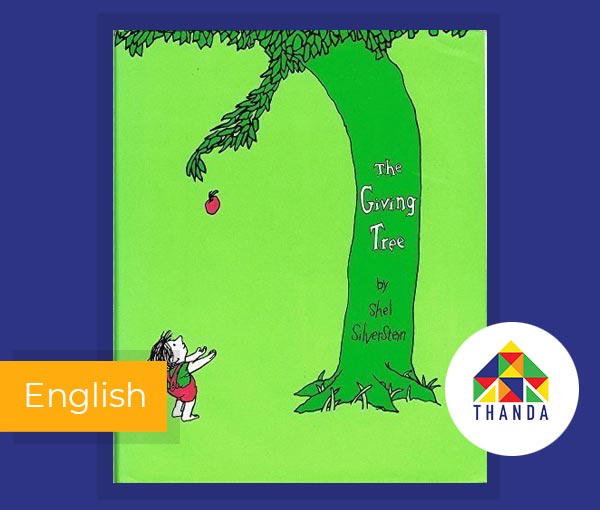
The Giving Tree
by Shel Silverstein (Writer & Illustrator)
This beloved classic teaches us about selflessness, greed and perspective.
It explores the grey areas between healthy and unhealthy relationships while forcing us to think about the complex nature of concepts such as respect.

Critical Thinking

Perspective
Age 6 – 14 Years
Let's get Creative
Explore 6 Fun Activities to do at Home
Step 4
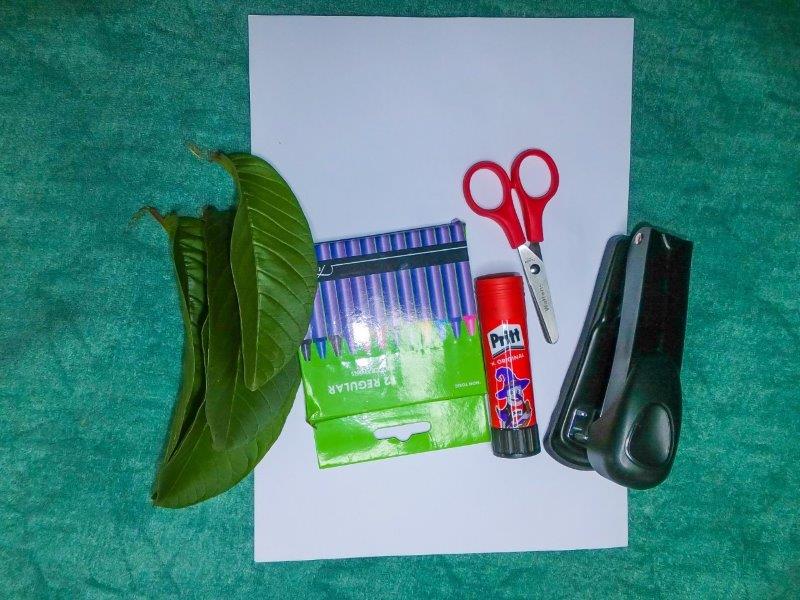
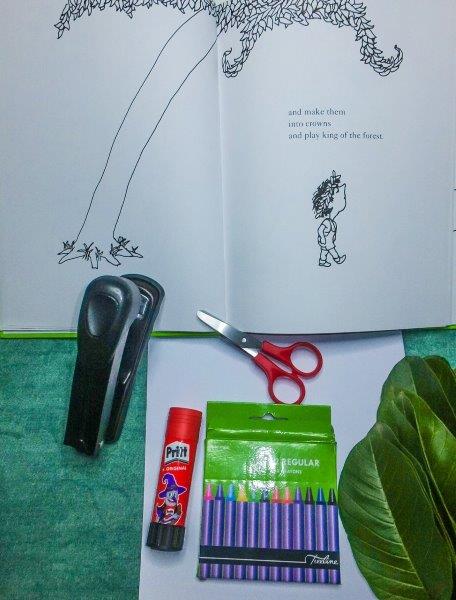
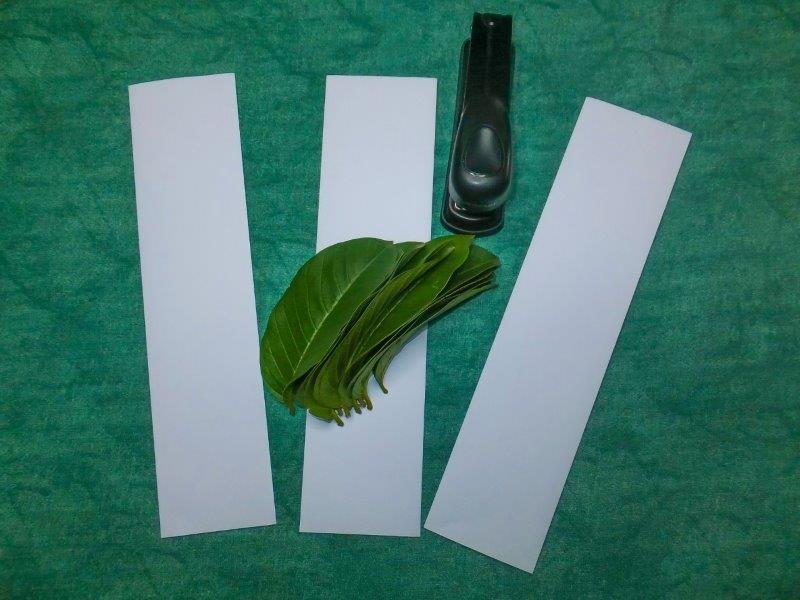
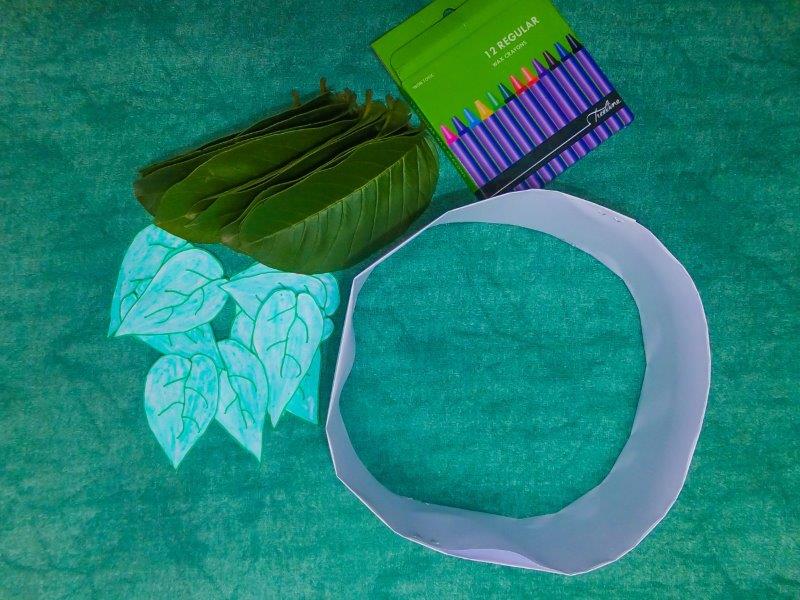
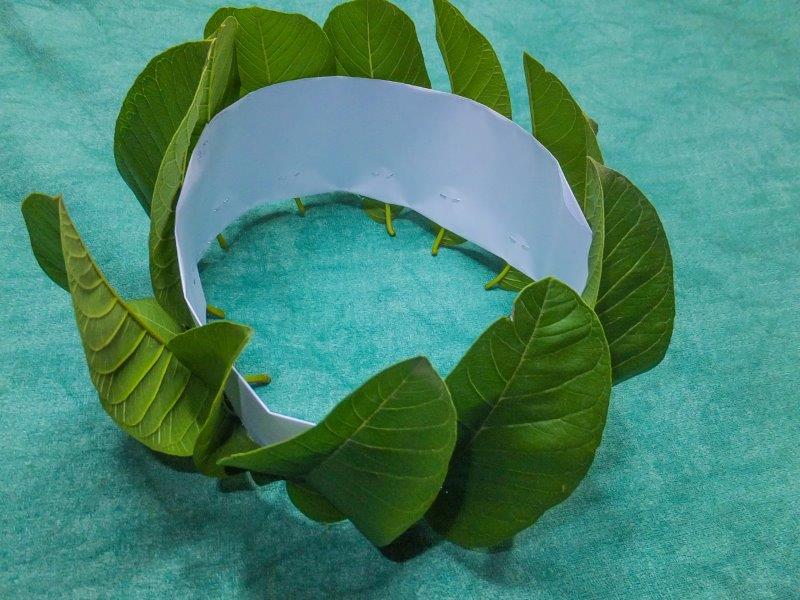
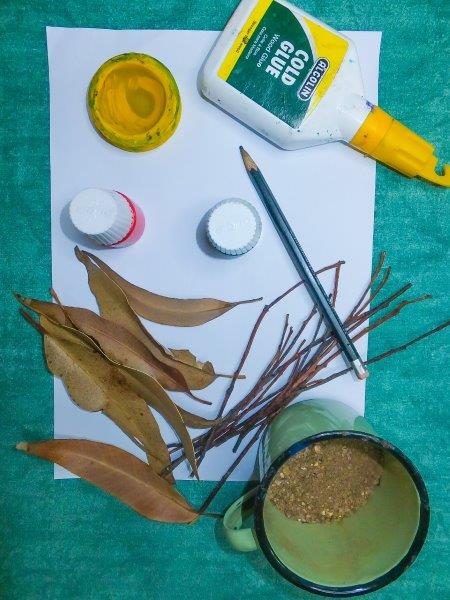
Once the children have their crown bases, let them go and hunt for leaves outside, or come up and grab leaves from your collection. Encourage them to try and think about what sorts of trees the leaves come from, as well as the different shapes and colours that the leaves have. If necessary, your child/children can also cut and colour in leaves out of paper.
Step 5
Finally, have your child/children begin gluing or stapling each leaf individually to their crown base, building up a full crown. Make sure your child/children are supervised with wet glue. Remember to leave it to dry. When all of the crowns are decorated and dried, let your child/children go around playing King of the Forest. Let them speak to the trees, play, and enjoy themselves! The crowns are delicate so explain to the child/children to be gentle.
Step 1
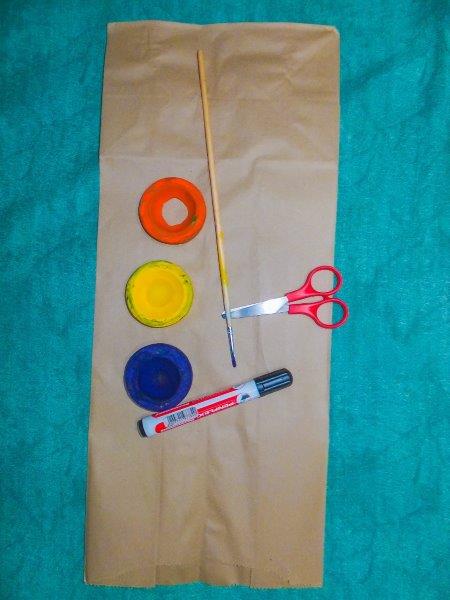
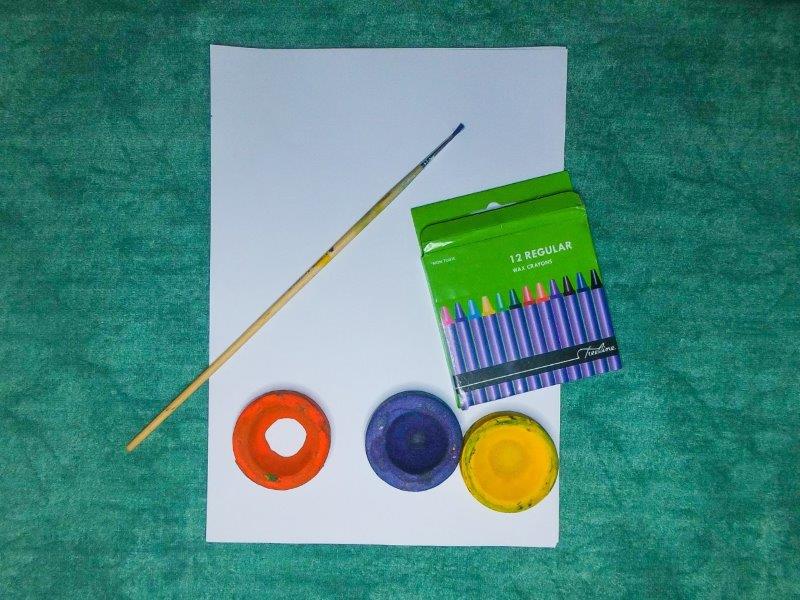
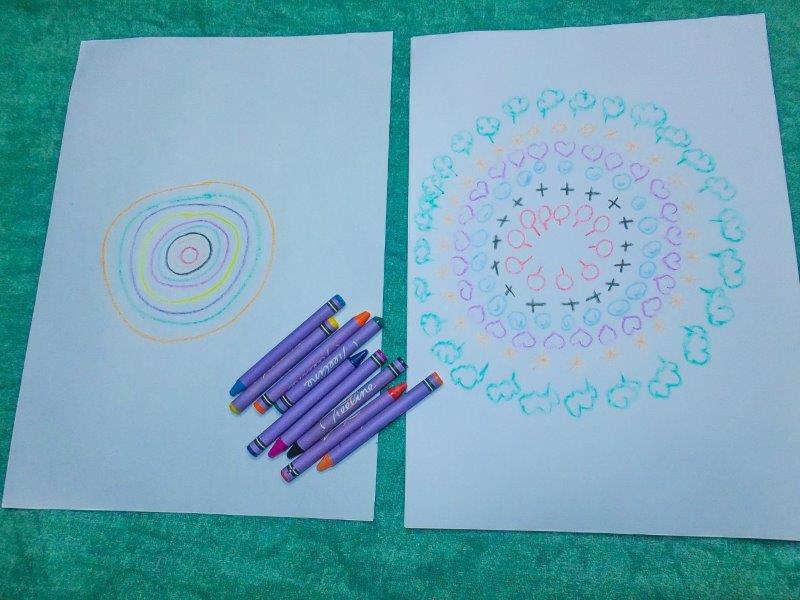
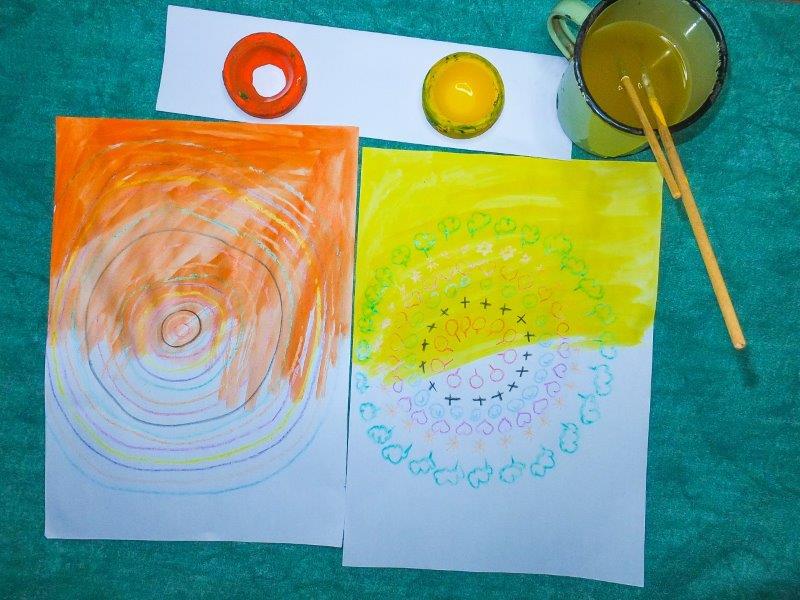
For this activity you will need paper, crayons, different coloured paints and paint brushes.
Step 2
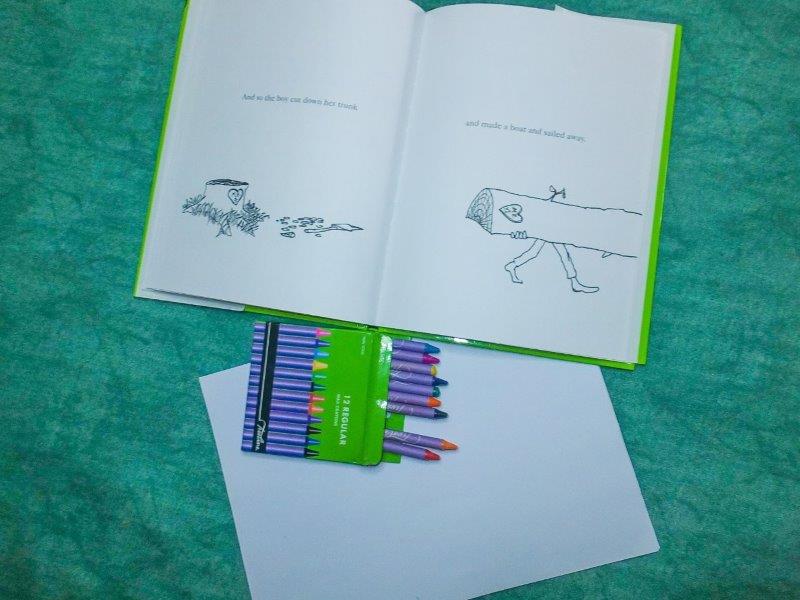
Explain to your child/children that today you will be doing an activity about age and how to measure it. Open The Giving Tree and ask about the age of the boy. How old do you think he is? How can you tell? Flip through the pages as he gets older and older, and have your child/children point out the details that Silverstein uses to show his age (height, beard, hair, etc.).
Step 3
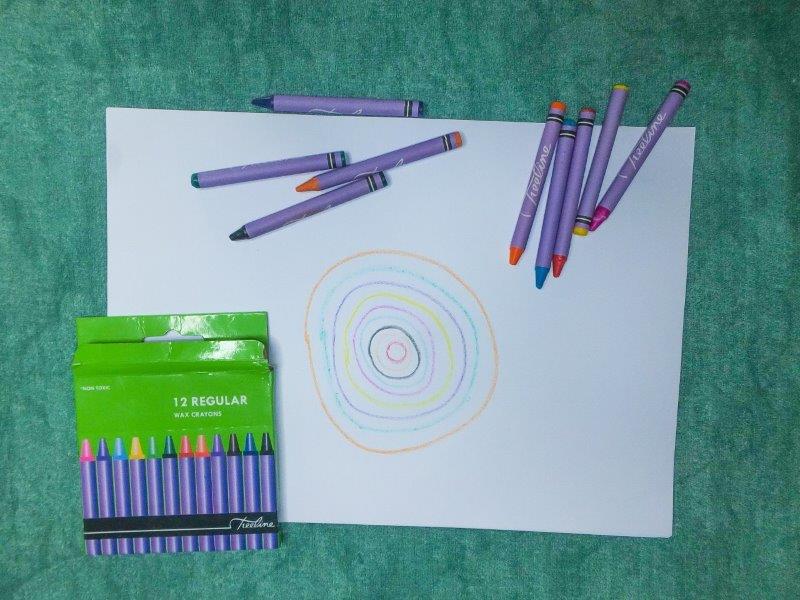
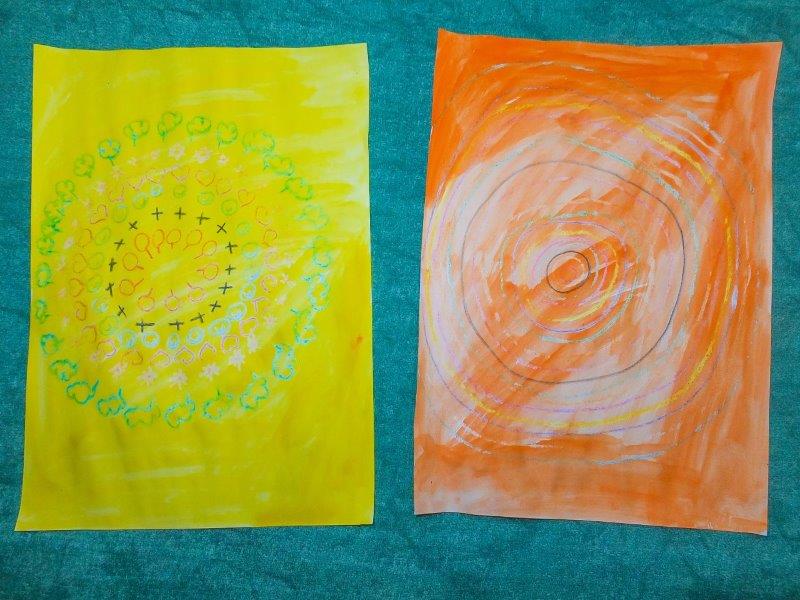
Flip to the page where you can see the growth rings of the tree. Use the “Tree Ring Info” download to explain and discuss what growth rings or “Annual Growth Rings” are with your child/the children. Next, distribute paper and crayons. Have each child start with a small circle in the middle of their paper. This represents them from birth to their first birthday. Then, they should add a new ring for each year of their life (i.e. 7 rings if they are 7 years old). Your child/children should push down hard with the crayon, as this will be important later on.
Step 4
For younger children, simple drawing rings may be enough. For older children, encourage them to draw symbols or write words that represent the different sorts of growth they experienced in each year of their life. If they had another sibling born, perhaps they can draw a baby. If they lost a relative, perhaps they can honour them by writing their name or drawing a picture of them.
Step 1
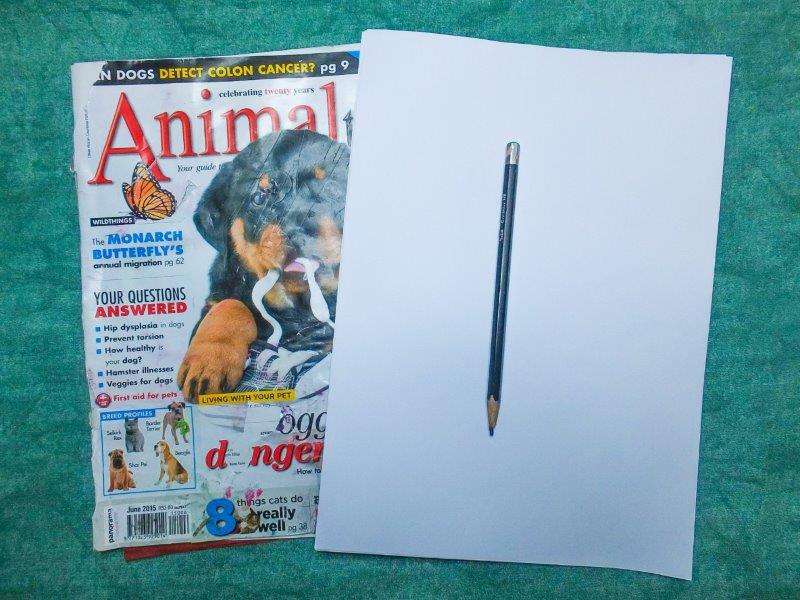
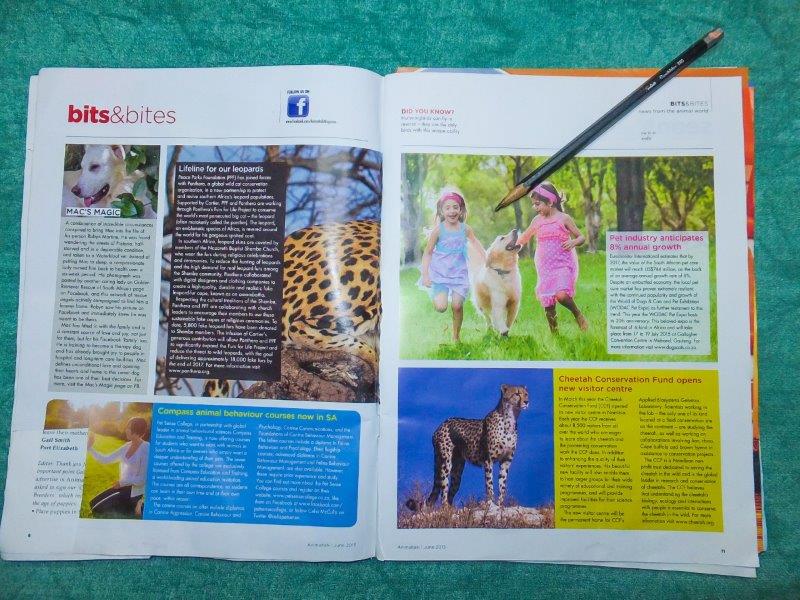
For this activity you will need magazines, paper (lined or blank) and pencils. Open the activity with a discussion of the relationship between the boy and the tree in The Giving Tree. Once you have discussed the different sort of relationships, distribute magazines, paper, and pencils to your child/children.
Step 2
Ask your child/children to flip through their magazine and look for a picture displaying some sort of relationship. It can be two people, one person and nature, two animals, an animal and a tree, or anything. Then, have them spend a few minutes imagining what the relationship in the picture is about and apply their own story to the picture.
Step 3
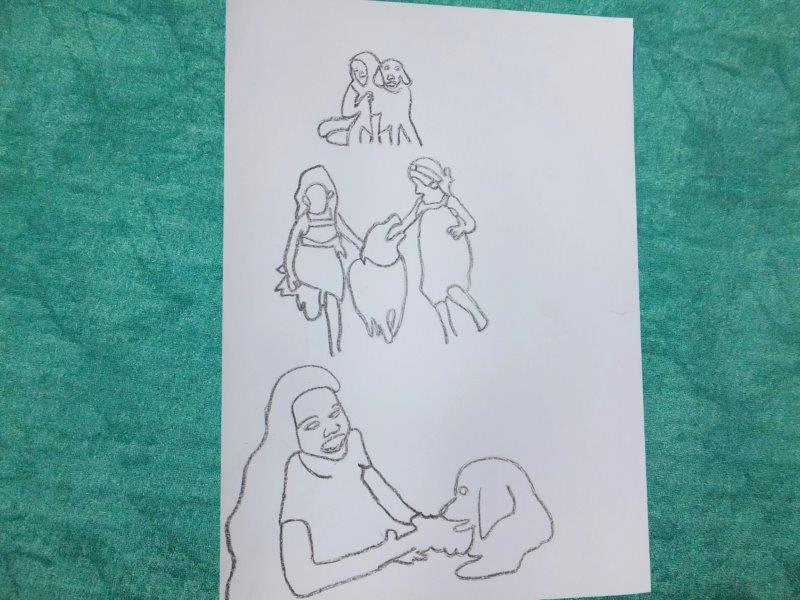
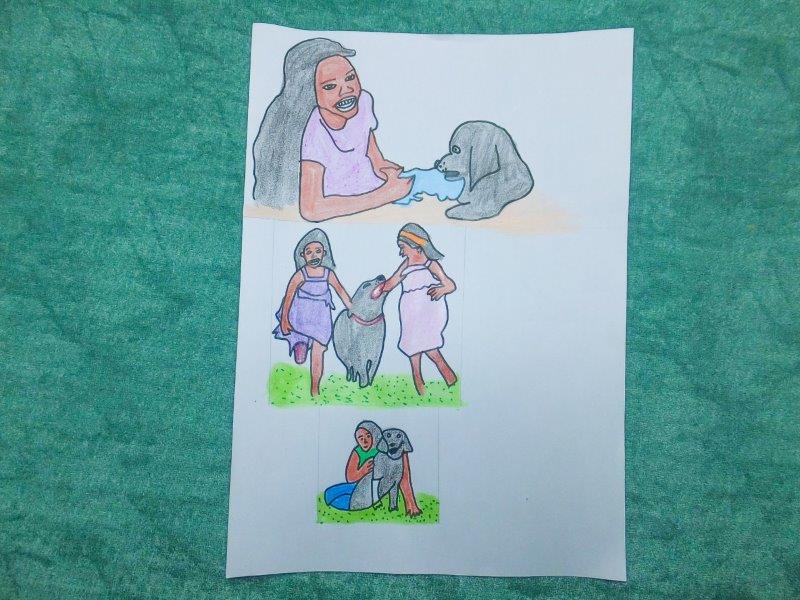
Once they have come up with a basic story idea, have your child/children write down the relationship they imagined (note: young children who are not yet reading and writing can either draw pictures or pure imagination to record their story). How did the relationship start? What emotions were shared? Is it a respectful relationship? Why or why not? How did the relationship change over time?
Step 4
After your child/children have had enough time to develop their stories, allow them to present their stories to the group or to you and explain the relationship they imagined in it. They should talk about whether they think the relationship is healthy or unhealthy, and why, using details they created.
Step 6
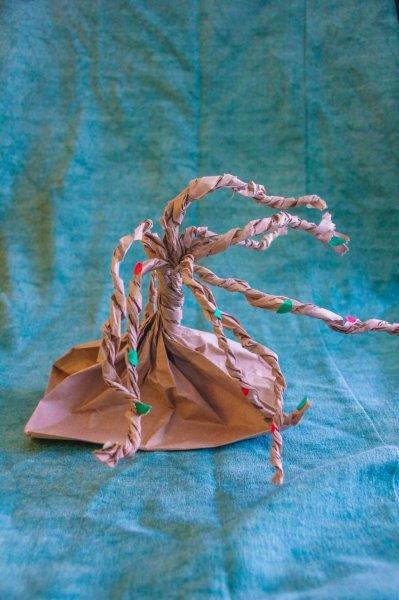
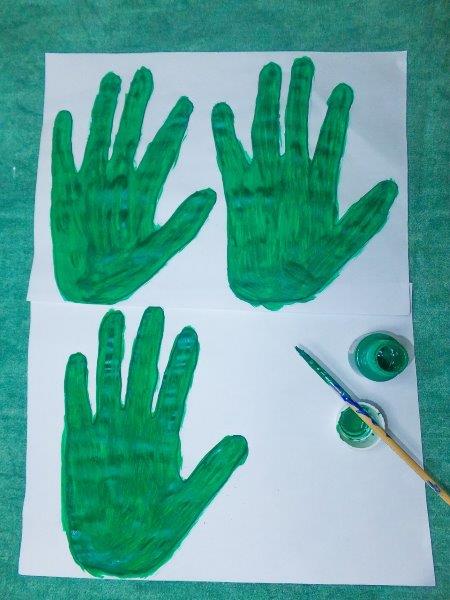
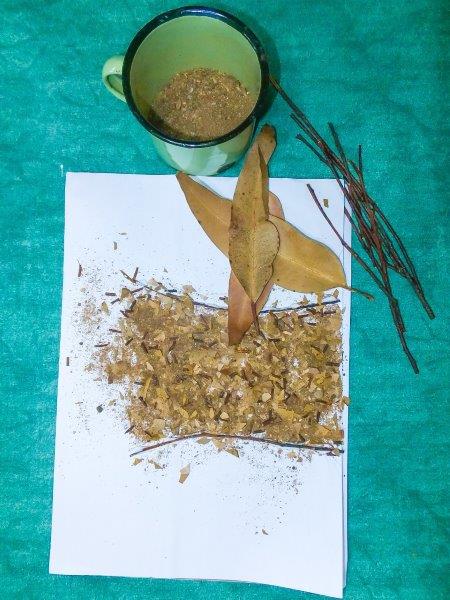
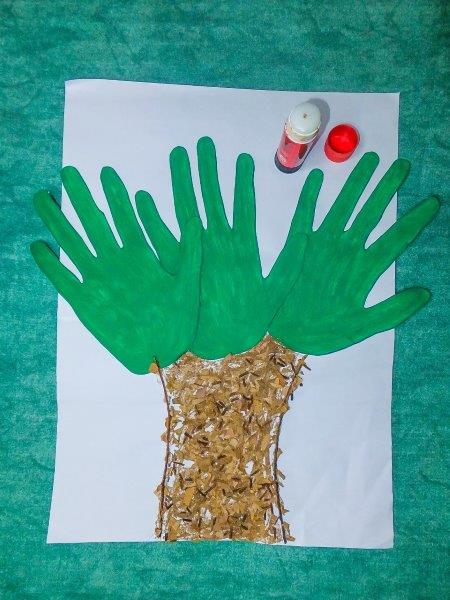
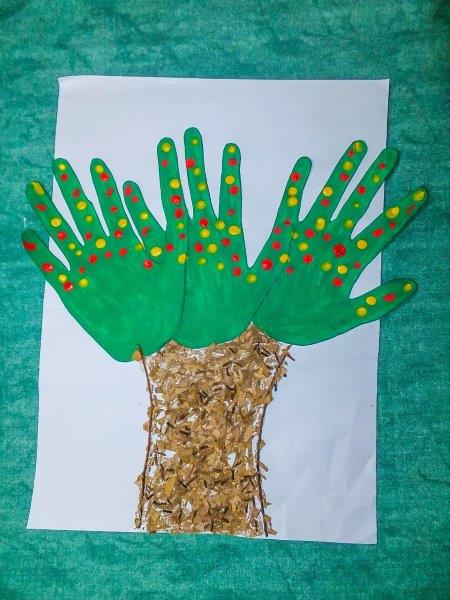
Prepare the children’s paints and show them how to use their fingers to stamp the paint onto the tree branches. These will become the leaves and fruit on their trees. Once the children have completed their trees, ask them to explain what is growing on their trees and why they chose the colours that they did.
Step 1
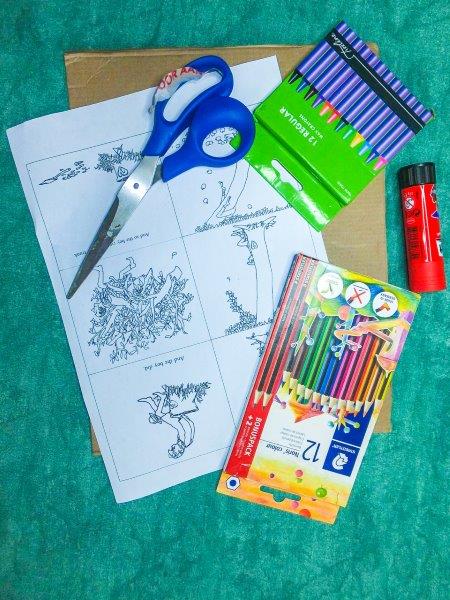
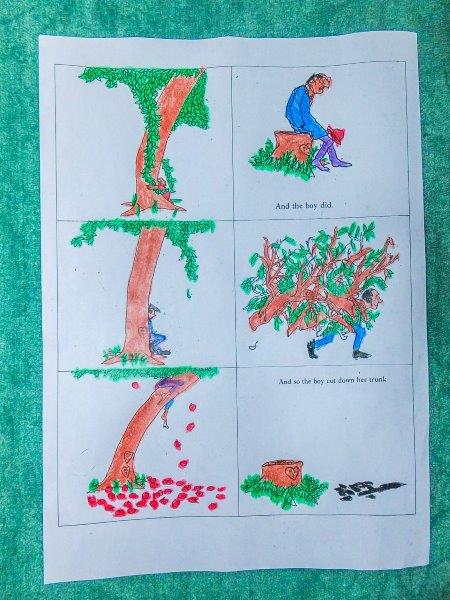
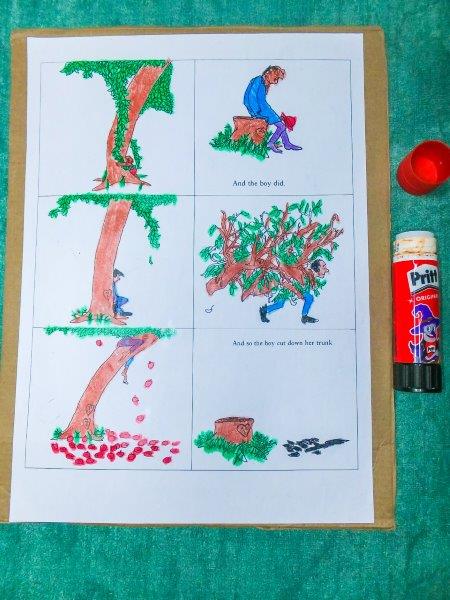
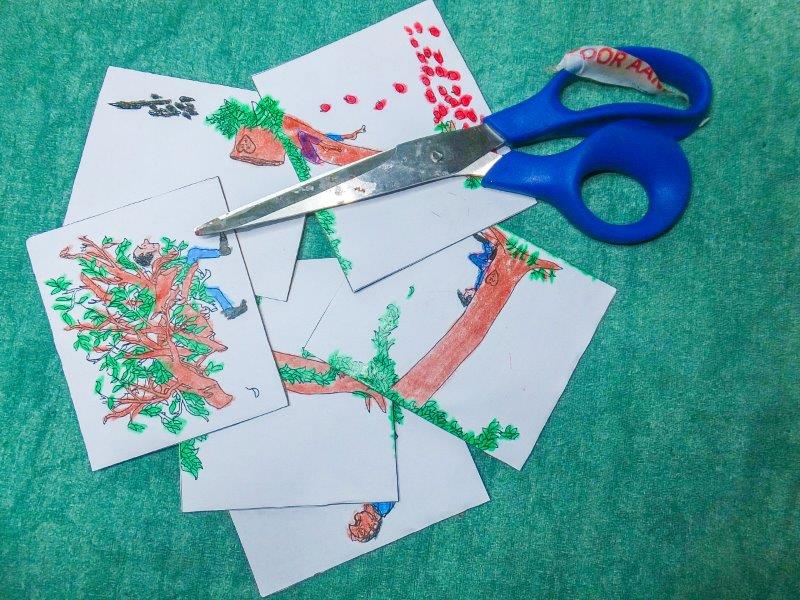
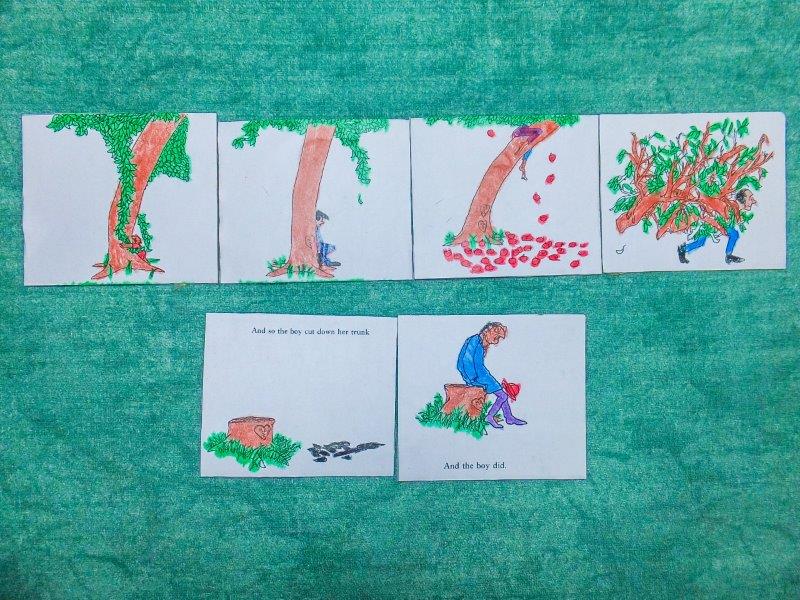
For this activity you will need to download and print a copy of the Giving Tree sequencing activity page, some recycled cardboard, glue, crayons or coloured pencils and a pair of scissors.
Discuss the story together:
- How can this book help us think about the complex relationship between giving and taking?
- Why is the boy always taking from the tree? How is his behaviour selfish/problematic?
- Why is the tree always making sacrifices for the boy? Do you think that this is right?
- Is the tree being selfish in any way? How could giving be selfish?
- What do we need to feel happy?
- The boy seems to think that getting things will make him happy. Do you think that this is true?
- Why do both the book and the tree continue to call the boy “The Boy” even when he gets older?
- Do you know any grown-ups who act like the boy?
- Do you think that the tree respects the boy? Why or why not?
- If you respect someone, how do you treat them?
- The boy sees himself as a victim. Why? Doesn’t everyone face problems?
- Why do you think that the boy isn’t happy?
- How would you feel if you were the boy?
- How would you feel if you were the tree?
- How can the story help us think about our relationship with nature?


